
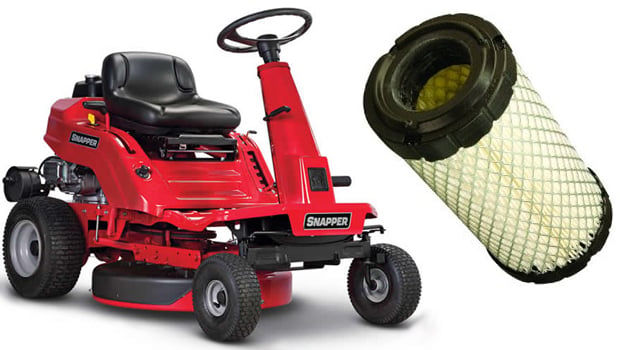
How to Replace the Air Filter on a Snapper Rear Engine Riding Mower
Changing the air filter on your mower is very easy. It is also one of the quickest forms of maintenance you can perform to keep your mower running like new!
In case you don’t know how to do this, here are 7 simple steps that will teach you how to change the air filter in a Snapper Rear Engine Riding Mower.
What you will need:
- Snapper Rear Engine Riding Mower
- New Air Filter
- New Pre-Cleaner
- Water
- Liquid Detergent
Be sure To check you Owner’s Manual for model specific information and maintenance instructions.
Step 1:
Remove the fastener, and the air filter cover.
Step 2:
Remove the pre-cleaner (if equipped) and the filter.
Step 3:
To loosen debris, tap the filter gently against a solid surface, if it is still dirty, replace the filter with a new one.
Step 4:
If you have a pre-cleaner, wash it in water and some liquid detergent, then allow it to air dry completely. Remember, do not oil the pre-cleaner.
Step 5:
If you have a pre-cleaner, install it into the filter.
Step 6:
Install the filter and pre-cleaner(if applicable) into the base, be sure the filter is sitting securely in the base.
Step 7:
Install the air filter cover and secure with fastener, make sure the fastener is tightly secured.
Helpful Hints:
- Your air filter and pre-cleaner (if equipped) should be changed after every 25 hours of use, or annually, whichever comes first.
- If you live in dusty conditions or in an area where there are a lot of airborne debris, you should change you air filter more frequently.
Featured Parts:
Jack’s Safety Tips: Before servicing or repairing any power equipment, disconnect the spark plug and battery cables. Remember to wear appropriate safety glasses and gloves to protect against harmful chemicals and debris. View our Disclaimer.
Related Posts
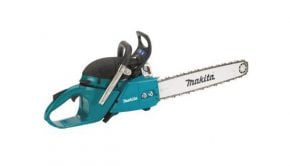
How to Check and Clean the Air Filter on Your Makita 2-Stroke Chainsaw →

How to Clean and Replace the Air Filter on Your Troy-Bilt 4-Cycle String Trimmer →

How to Remove the Cutting Deck from Your Troy-Bilt Pony Riding Lawn Tractor →
How to Level the Deck on Your Troy-Bilt Pony Riding Lawn Tractor →

One Response to How to Replace the Air Filter on a Snapper Rear Engine Riding Mower