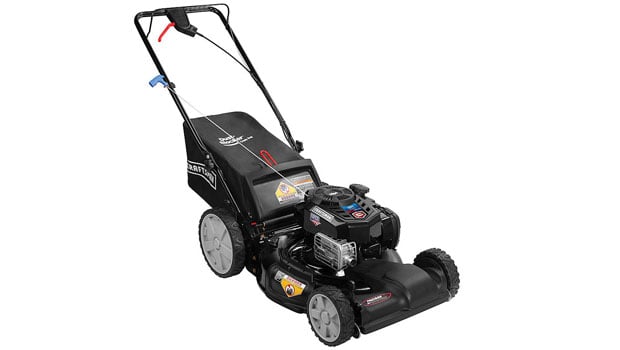
How to Inspect and Replace the Blade on Your Craftsman Front Wheel Drive Push Mower
Keeping your mower’s blade sharpened and balanced will ensure that your lawn receives a higher quality and more efficient cut. Blades that are damaged or improperly installed can turn into dangerous projectiles during use.
Before servicing any power equipment, follow the safety instructions laid out in your owner’s manual. Make sure the equipment is completely stopped, cooled down, and that no parts are moving before attempting to service your equipment.
When handling blades, wear heavy gloves and eye protection to prevent injury.
- Step 1: If possible, run the engine until it is out of fuel to prevent spillage.
- Step 2: Disconnect the spark plug wire.
- Step 3: Turn the mower on its side, making sure the air filter is facing upward.
- Step 4: Remove the bolt and blade bell support.
- Step 5: Remove the blade and adapter from the crankshaft.
- Step 6: Remove the blade from the adapter.
- Step 7: Balance the blade on a round shaft screwdriver to test the balance. Remove metal from the heavier side until it is balanced. Sharpen if needed.
- Step 8: Lubricate the crankshaft and the inner area of the blade adapter with light oil. Place the blade adapter on the crankshaft and place the blade on the adapter so that the grass side of the blade faces the ground when the mower is in its operating position.
- Step 9: Place the blade bell support on the blade. Line up the notches on the blade bell support with the small holes in the blade.
- Step 10: Replace the bolt and torque it to 450 in-lb. minimum, 600 in-lb. maximum.
For information about safety, warranty, and your specific model, read and be familiar with your owner’s manual.
Related Products and Links


