
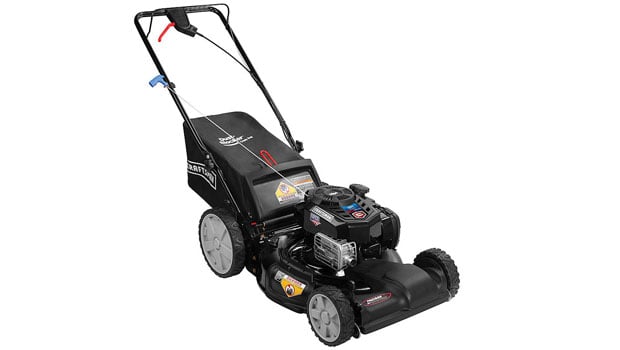
How to Attach the Handle to Your Craftsman Front Wheel Drive Push Mower
Ensure that the handle of your Craftsman front wheel drive push mower is properly attached by following the steps laid out below so that you have a much more safe and efficient mowing experience.
Before servicing any power equipment, follow the safety instructions laid out in your owner’s manual. Make sure the equipment is completely stopped, cooled down, and that no parts are moving before attempting to service your equipment.
- Step 1: Remove packing materials that are left between the handles.
- Step 2: Remove the wing nuts and carriage bolts.
- Step 3: Hold the mower in place so that it doesn’t move. Lift the upper handle and set it into upright position.
- Step 4: Remove the t-bolts from the handle brackets.
- Step 5: Pull up on the handle until the lower handle holes line up with the holes in the handle bracket.
- Step 6: Insert the t-bolts you removed through the handle brackets and lower handle to secure the handle in place.
- Step 7: Reattach the wing nuts and carrier bolts that you removed earlier into the lower holes of the handle.
- Step 8: Loosen the wing knob that is securing the rope guide on the right side of the upper handle.
- Step 9: Hold the blade control against the upper handle.
- Step 10: Pull the starter rope handle slowly from the engine and slip the starter rope into the rope guide.
- Step 11: Tighten the rope guide wing knob.
- Step 12: Secure the blade control and drive cables to the lower handle using cable ties.
For information about safety, warranty, and your specific model, read and be familiar with your owner’s manual.
Related Products and Links
Related Posts

How to Assemble the Handle and Chute on Your Cub Cadet Two Stage Snow Thrower →

How to Install and Adjust the Handle on Your Troy-Bilt 4-Cycle String Trimmer →

How to Replace the Auger Belt on Your Craftsman Dual-Stage Snow Blower →
How to Adjust the Drive Control on Your Craftsman Dual-Stage Snow Blower →
