
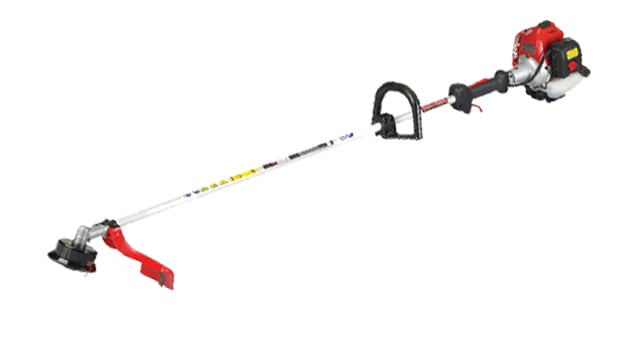
How to Assemble a Red Max Trimmer
So you just got a new trimmer, but you don’t quite know where to begin to get it put together, well, here are some steps that will help you get your trimmer assembled in no time at all!
To mount the engine:
Step 1
Push the driveshaft housing towards the clutch housing and rotate it by hand to be sure that the driveshaft is engaged with the gears
Step 2
Insert the driveshaft housing into the clutch housing until it hits the bottom, then align the positioning holes on the clutch housing with the holes on the shaft tube and insert the screw. If it is difficult to engage twist the engine slightly
Step 3
Fasten the clamp securely with two screws
To connect the throttle wire:
Step 1
Remove the air cleaner cover
Step 2
Connect the end of the throttle wire to the joint located on the top of the carburetor
To connect the switch wires:
Step 1
Connect the switch wires between the engine and the main unit. Be sure that you pair together the wires that are the same color
To install the handle:
Step 1
Mount the handle to the shaft tube, clamp it to a location that is comfortable for you (about 19 inches from the main unit is recommended)
To install the debris guard:
Step 1
Attach the debris guard to the shaft using the bolts provided
Step 2
Installing the line head:
Step 3
While locking the gear shaft (by inserting the supplied tool into the upper holder on the gear box) loosen and remove the hexagon nut
Step 4
Fit the line head assembly to the gear shaft over the holders hand-tighten it securely
Now your trimmer is assembled and ready to go! If you need more specific details, consult your owner’s manual!
Featured Parts:
Jack’s Safety Tips: Before servicing or repairing any power equipment, disconnect the spark plug and battery cables. Remember to wear appropriate safety glasses and gloves to protect against harmful chemicals and debris. View our Disclaimer.
Related Posts

How to Replace the Cutting/Trimming Line of Your Honda VersAttach Trimmer Attachment →

How to Operate an Oregon Trimmer →

How to Operate a Core Outdoor Power Trimmer →

How to Operate a Honda String Trimmer →
