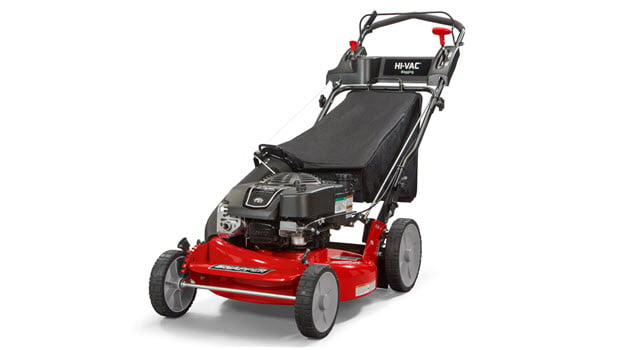
How to Adjust the Driven Disc for a Snapper P2185020
The following instructions are for the Snapper 21″ Series 20 Steel Deck Walk Mower, which is for the model number P2185020. Before attempting to work on/with your equipment in any way, always refer to your owner’s manual for safety information.
- Move the ground speed control into the ‘fast’ position.
- Remove the driven disc spring from the driven disc assembly. Also remove the pin and washer from the transfer rod, and remove the end of the transfer rod from the hole in the driven disc assembly.
- Slide the driven disc assembly over to 1/8″ from the outside edge of the driven disc.
- Loosen the jam nut securing the transfer rod to the ball joint on the pivot bracket.
- Turn the rod in or out of the ball joint until the end of the rod aligns with the hole in the driven disc assembly from which the rod was removed.
- Important: Do not move the pivot bracket.
- Reinstall the rod as removed in Step 2. Move the ground speed control to the ‘slow’ position, then back to the ‘fast’ position. Readjust as needed, tighten the nut when finished.
- Reinstall the driven disc spring to the driven disc assembly.
For information about safety, warranty, and your specific model, read and be familiar with your owner’s manual.
Related Products and Links


