
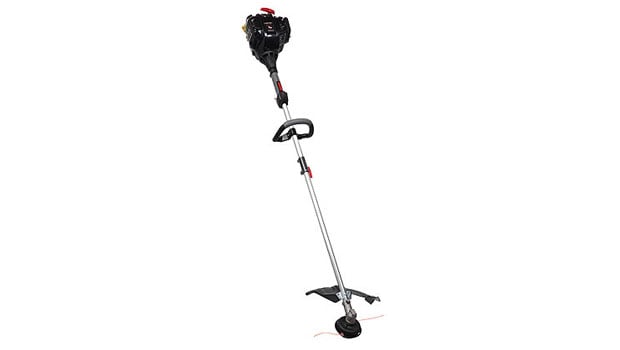
How to Install and Adjust the Handle on Your Troy-Bilt 4-Cycle String Trimmer
Install and adjust the handle on your Troy-Bilt string trimmer for the best possible user experience. Learn how to customize the position of the handle for to maximize comfort.
Before servicing any power equipment, follow the safety instructions laid out in your owner’s manual. Make sure the equipment is completely stopped, cooled down, and that no parts are moving before attempting to service your equipment.
Installing the Handle
- Step 1: Place the handle onto the shaft housing.
- Step 2: Ensure that the bolt hole that’s on the handle is on the right side of the shaft.
- Step 3: Put the bolt into the bolt hole and push it through. Use a 3/8” socket to tighten it slightly. Do not completely tighten it.
- Step 4: Position the handle so that it provides maximum comfort and the best possible grip for you.
- Step 5: Make sure the handle is at least six inches away from the shaft grip.
- Step 6: Use a 3/8” socket to completely tighten the bolt.
Adjusting the Handle
- Step 1: Use a 3/8” socket to loosen the bolt.
- Step 2: Hold the unit in operating position.
- Step 3: Move the handle until it’s in the desired position.
- Step 4: Tighten the bolt with a 3/8” socket.
For information about safety, warranty, and your specific model, read and be familiar with your owner’s manual.
Related Products and Links
Related Posts

How to Assemble the Handle and Chute on Your Cub Cadet Two Stage Snow Thrower →

How to Check and Replace the Spark Plug on Your Troy-Bilt 4-Cycle String Trimmer →
How to Clean and Replace the Air Filter on Your Troy-Bilt 4-Cycle String Trimmer →
How to Check and Change the Oil of Your Troy-Bilt 4-Cycle String Trimmer →
