

How to Replace the Air Filter of a Honda HRX/HRR Lawn Mower
Increase the life and performance of your engine by properly maintaining your air filter. Doing so will prevent dirt and debris from entering your carburetor and causing unnecessary damage and wear.
Cleaning/replacing your air filter is one of the easiest and quickest ways that you can maintain your equipment. You should clean your air filter around every 6 months or 50 hours of use at a minimum. At the very least, replace it every 2 years or 150 hours of use.
- Step 1: Facing the front of the mower, find the air filter cover on the bottom right side.
- Step 2: Push in on the cover tabs to release the cover. Remove it and set it aside.
- Step 3: Remove the air filter from its housing.
- Step 4: Inspect the filter for any excessive dirt, damage, or wear. If it is only a small amount of dirt, it can be cleaned. If damaged or worn, it should be replaced.
- Step 5: To remove dirt, tap the filter on a hard surface or blow compressed air (not exceeding 30 psi) into it.
- Step 6: Clean the inside of the air filter housing with a moist rag. If possible, do not allow dirt to enter the duct leading to the carburetor while the air filter is not attached.
- Step 7: Reinstall the new or cleaned filter and reattach the cover. Make sure both tabs are secured.
For information about safety, warranty, and your specific model, read and be familiar with your owner’s manual.
Related Products and Links
Related Posts
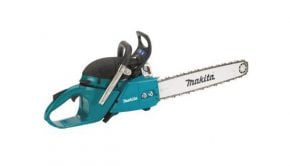
How to Check and Clean the Air Filter on Your Makita 2-Stroke Chainsaw →
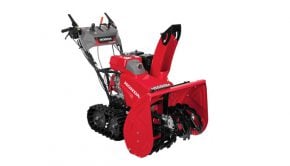
How to Inspect and Adjust the Skid Shoes and Scraper on Your Honda Two Stage Snow Blower →
How to Clear Snow with Your Honda Two Stage Snow Blower →
How to Inspect and Replace the Spark Plug on Your Honda Two Stage Snow Blower →
